|
Get Familiar with the UI |
  
|
|
Get Familiar with the UI |
|
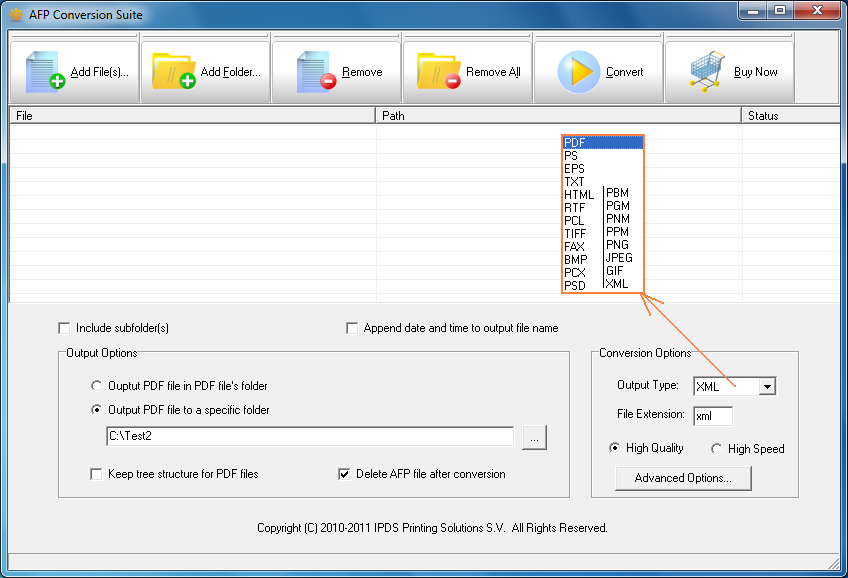
Let's get familiar with the graphical user interface on the first launch of the AFP Conversion Suite or AFP Converter after install.
On the top of the user interface, there exist six buttons. The functionality of each can be,
Add File(s)...: Add one or more AFP files. Once this button is clicked, a select file dialog appears, and you can hold the Shift key on your keyboard to select multiple AFP files.
Add Folder...: Add all AFP files in a specified folder. If this button is clicked in the mean time the 'Include subfolder(s)' option is checked, you will see a folder selection dialog, and be able to automatically import all the AFP files in all of the subfolders of the folder that have just specified.
Remove: Delete one or more selected AFP files from the list of the UI. The actual files are not erased from your storage.
Remove All: Delete all AFP files in the list of the UI. The actual files are not erased from your storage.
Convert: Once this button is clicked, the conversion begins, and this button will be changed to a Stop button.
Buy Now: To purchase a license online.
Help: Load this user guide. This button is not available in the evaluation copy.
Down the list of AFP files, you see Output Options and Conversion Options. More details will be disclosed in the subsequent topics.